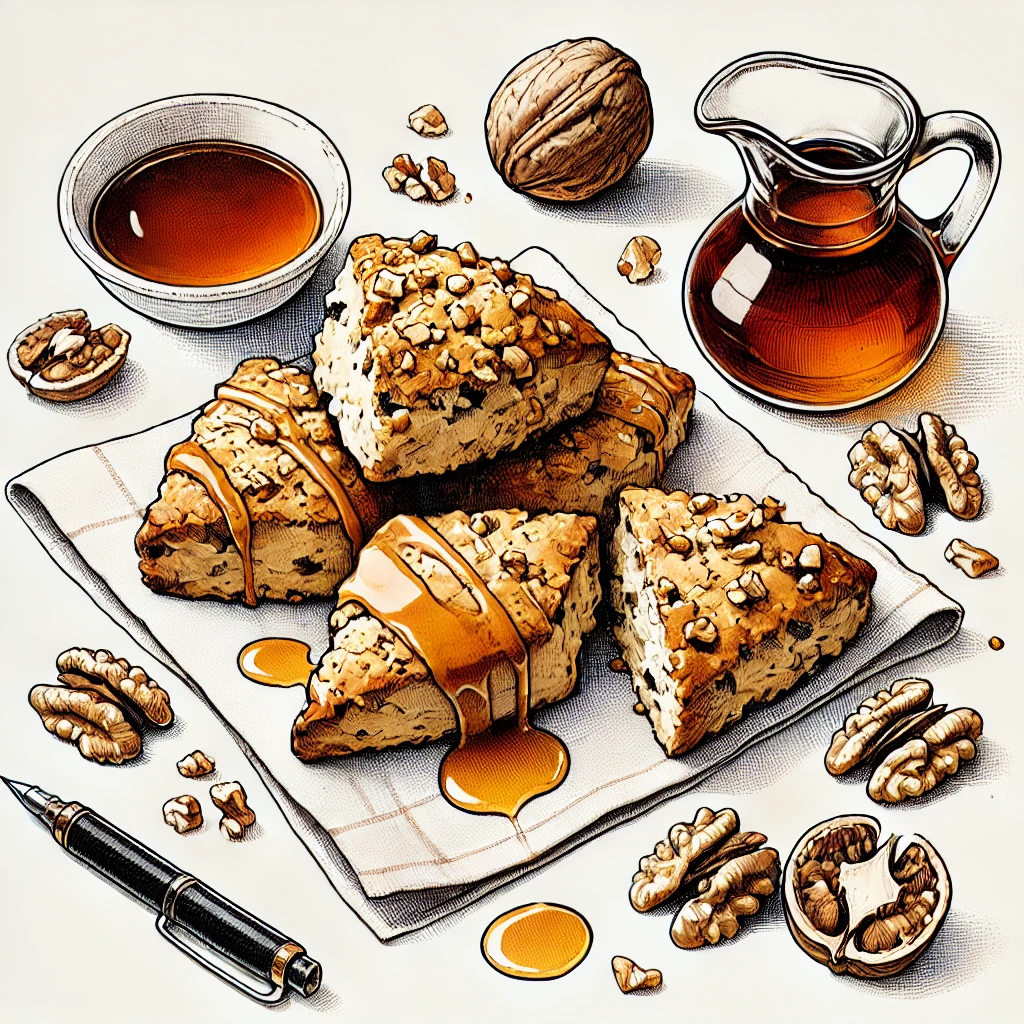
Maple Walnut Scones combine the rich, earthy flavors of toasted walnuts with the subtle sweetness of pure maple syrup, creating a scone that’s both hearty and indulgent. Perfect for breakfast, brunch, or an afternoon snack, these scones have a tender crumb and a delightful glaze that elevates them to bakery-quality. They pair beautifully with a hot cup of coffee or tea, making them a versatile addition to any occasion. Let’s bake these simple yet sophisticated scones and enjoy a little touch of elegance at home.
Total Time
- Prep Time: 15 minutes
- Cook Time: 18 minutes
- Cooling Time: 10 minutes
- Total Time: 43 minutes
Servings and Macros
- Yield: 8 scones
- Calories: 270 per serving
- Protein: 5g
- Carbohydrates: 32g
- Fats: 13g
- Fiber: 2g
- Sugar: 12g
Health Benefits of Each Ingredient
- Walnuts: Provide heart-healthy omega-3 fatty acids, fiber, and protein.
- Maple Syrup: A natural sweetener rich in antioxidants and trace minerals like manganese.
- Greek Yogurt: Adds protein and moisture, ensuring a tender crumb.
- Whole Wheat Flour (optional): Enhances fiber content and provides a nutty depth of flavor.
Ingredients
For the Scones:
- 2 cups all-purpose flour (or 1 1/2 cups all-purpose + 1/2 cup whole wheat flour)
- 1/4 cup granulated sugar
- 1 tbsp baking powder
- 1/2 tsp salt
- 1/2 tsp ground cinnamon
- 1/2 cup unsalted butter, cold and cubed
- 1/2 cup chopped walnuts, toasted
- 1/4 cup pure maple syrup
- 1/3 cup Greek yogurt
- 1/4 cup milk (whole or plant-based)
- 1 tsp vanilla extract
For the Maple Glaze (Optional):
- 1/2 cup powdered sugar
- 2 tbsp pure maple syrup
- 1-2 tsp milk
Instructions
- Preheat the Oven:
- Preheat your oven to 400°F (200°C).
- Line a baking sheet with parchment paper or a silicone baking mat.
- Prepare the Dry Ingredients:
- In a large mixing bowl, whisk together the flour, sugar, baking powder, salt, and cinnamon.
- Incorporate the Butter:
- Add the cold, cubed butter to the dry ingredients. Use a pastry cutter or your fingers to work the butter into the flour until the mixture resembles coarse crumbs.
- Add the Walnuts:
- Stir in the toasted walnuts, ensuring they are evenly distributed.
- Mix the Wet Ingredients:
- In a separate bowl, whisk together the maple syrup, Greek yogurt, milk, and vanilla extract.
- Combine Wet and Dry Ingredients:
- Gradually add the wet ingredients to the dry mixture, stirring until a shaggy dough forms. Be careful not to overmix.
- Shape and Cut the Scones:
- Turn the dough out onto a lightly floured surface and gently knead it into a disk about 1 inch thick.
- Cut the disk into 8 equal wedges and transfer them to the prepared baking sheet.
- Bake the Scones:
- Bake for 16-18 minutes, or until the scones are golden brown and firm to the touch.
- Let them cool on the baking sheet for 5 minutes before transferring to a wire rack.
- Prepare the Maple Glaze (Optional):
- In a small bowl, whisk together the powdered sugar, maple syrup, and milk until smooth.
- Drizzle the glaze over the cooled scones before serving.
Pairing Recommendations
Wine: A chilled Moscato or a sweet Riesling complements the maple and nutty flavors.
Beer: A nut brown ale or a maple-infused porter enhances the scones’ richness.
Cocktail: Pair with a Maple Bourbon Sour or a Walnut Old Fashioned for a sophisticated touch.
Non-Alcoholic Options:
- Sparkling water with a splash of maple syrup and a twist of lemon.
- Hot chai tea with a drizzle of maple syrup.
- Freshly brewed coffee or a maple latte for a cozy pairing.
Tips for Success
- Toast the Walnuts: Toasting enhances their flavor and adds a delightful crunch.
- Use Cold Butter: Keeping the butter cold ensures a flaky texture in the scones.
- Don’t Overmix: Stir until just combined to avoid tough scones.
Maple Walnut Scones are a perfect way to enjoy the comforting flavors of maple and nuts in a simple, elegant pastry. Whether served for breakfast, tea, or a special brunch, these scones are sure to impress. Happy baking!